
I've been keepin my eye open for more photo hints - many of us have various types of products, so this suggestion is for smaller items. I believe, however, that these ideas can be applied to bigger items (like a full woman's outfit, etc). But it is catered to work for smaller objects. So pay attention, because this advice is great for:~Jewelry
~Purses/Bags (handbags, pencil pouches, wristlets)
~Small articles of clothing (baby clothes, shoes, gloves)~Small objects (camera, stuffed animal, seashells)~Soap, candles~Accesories (watches, headbands, hair flowers)and the list goes on. I think this advice works for most of our shops, and can be helpful for many of our items. I'm thinking about going out and buying and Ott Bulb!!
Here are some hints from Bomobob on taking photos indoors. Especially when the weather outside isn't condusive to photographing! You can find the full forum entry here. I'll quote and include some of his photos, but I'd also recommend reading his words!
He says rather than buying a "Lightbox," a
"piece of cardboard and light bulb have always served me just fine. Here’s what I call my 50 cent lightbox:"Doesn't look too expensive... Just a nice piece of poster board or cardstock. He tapes it to the wall and the floor to hold it in place. He said that the weather was dreary outside; making it perfect for his makeshift Lightbox.

Next, he says,

"Yup, a sheet of Bristol board taped to the floor and wall. And today was a perfect day to demonstrate; cold, cloudy, blustery, and quite dark. What you see there is what you get. Not very good light. Big deal.He also compensated for the darkness by changing the F-stop exposure on his camera. If you don't know how to this on your camera, you can take care of it after the fact, in a Photo Editor, like Google's Picasa (which is free - so affordable!), or Adobe Photoshop. **In Picasa, you would adjust the light-exposure by clicking on the Tuning tab, and increasing Fill Light and Highlights.**
"Enter the light bulb, or to be precise, the Ott bulb. These are cheap, easily available at hardware stores, and the best lighting invention since sliced bread. Even better in fact, since sliced bread has very little to do with photography. Take one table lamp, remove shade, screw in Ott bulb, and put on stairs. What a difference!"

Here's a sample of how he used his easy-peasy light box:

Isn't that camera look stunning? On this photo, he used the Macro setting, which looks like a flower. Here's someone's close-up of their macro button on their camera:
 Macro allows your camera to focus up-close and to allow the background to blur a little. You can increase the amount of blur in your photo editor. ** In Picasa, you can select Soft Focus under the Effects tab. It's not the most fancy way to blur out the background, but for some pictures it's the perfect touch.**
Another Etsy Storque article (part 2 of the article I shared last week, I believe), shows some great images that may inspire you on new, exciting ways to present your items. Remember to avoid using flash, as Janae said, using flash is a great way to murder your photos.
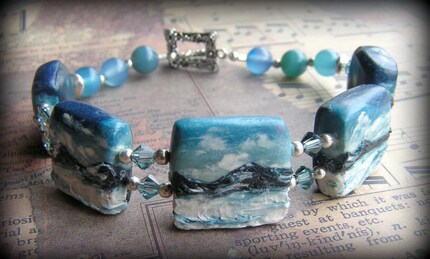
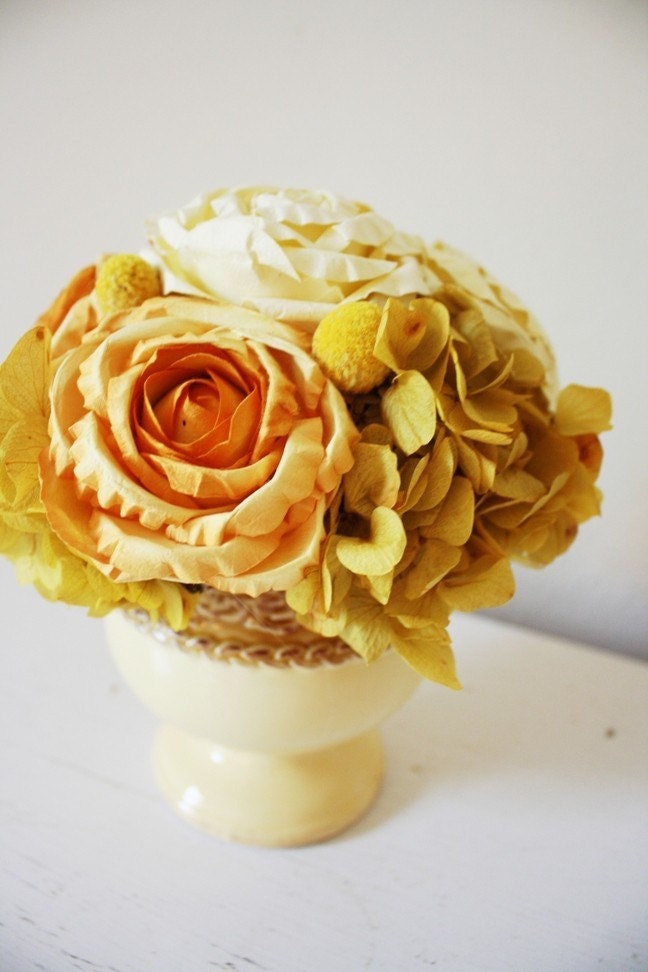
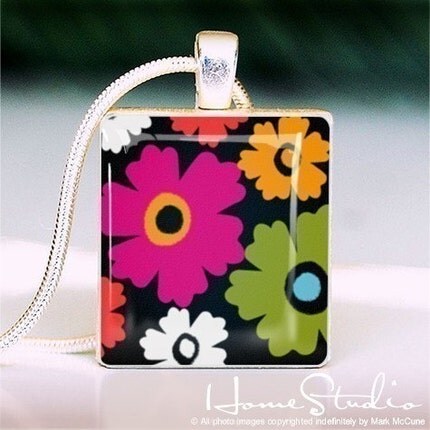
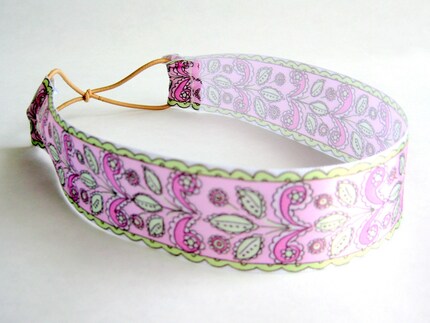
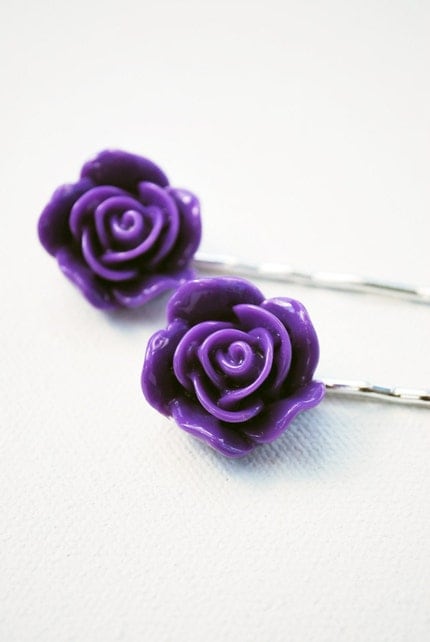
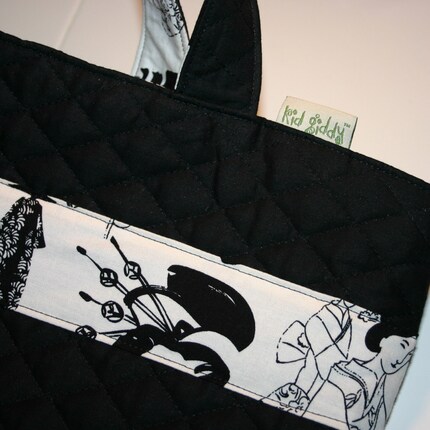
Here are some more great ones from our own team! Thanks for presenting your images so beautifully! These are the kinds of photos that work for Etsy's Treasuries and Front Page and Storque articles:
Another great post, Anna!
ReplyDeleteThank you!
Melanie
http://sweetmellyjane.etsy.com
thanks!
ReplyDelete